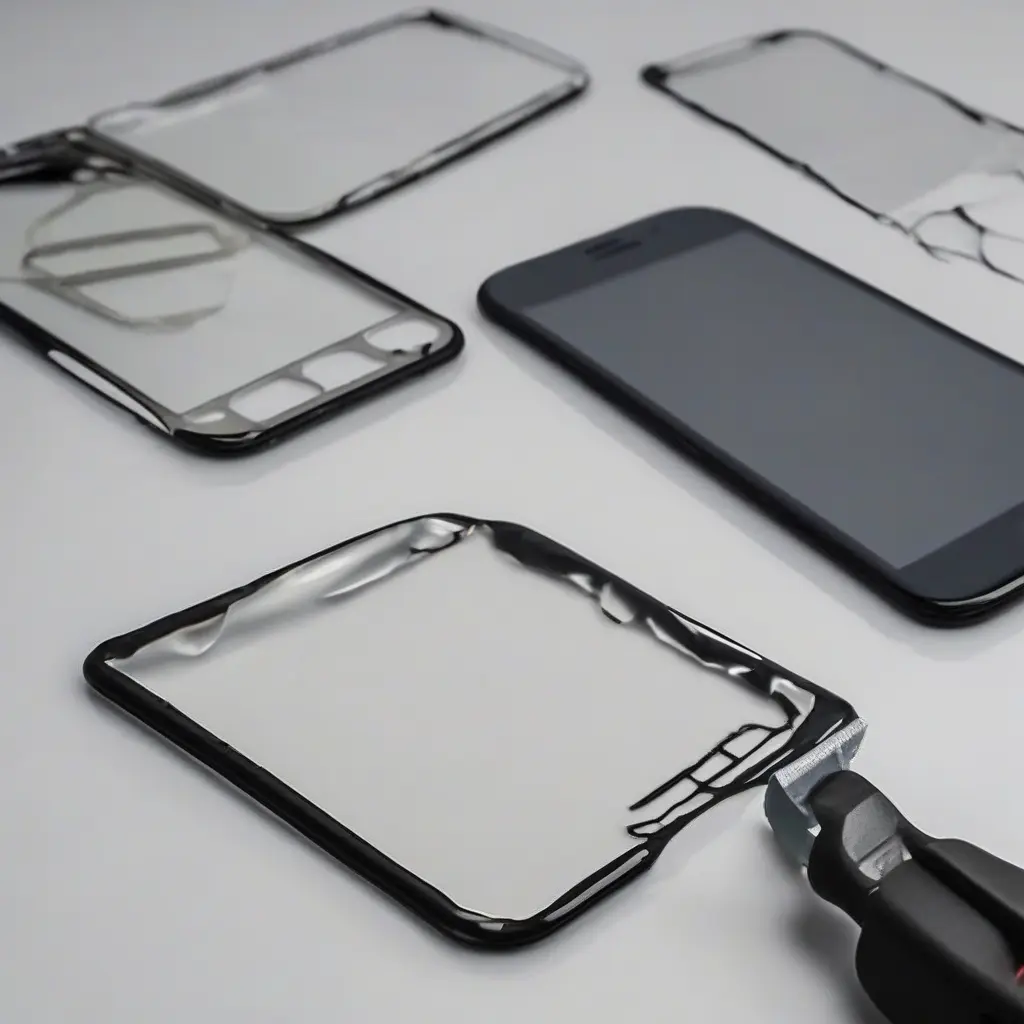
Replacing a damaged screen protector is crucial for maintaining the integrity of your device’s display. Whether you have a smartphone, tablet, or smartwatch, a damaged protector can affect visibility and even lead to more serious damage over time. This guide will walk you through each step of the replacement process to ensure that your device remains well protected. From gathering the necessary tools to cleaning the screen and applying the new protector, we will cover everything you need to know for a seamless replacement.
Understanding the Importance of a Screen Protector
A screen protector serves as a shield for your device’s display, protecting it from scratches, impacts, and fingerprints. Without one, your device may suffer irreversible damage that can lead to costly repairs. Modern protectors come in various materials such as tempered glass and plastic film, each offering different levels of protection and clarity. Understanding the importance of a screen protector can help you make informed choices not just during replacement, but also when selecting the right kind for your device.
Gathering Necessary Tools
Before starting the replacement process, gather the necessary tools to ensure a smooth experience. You’ll typically need a new screen protector, a microfiber cloth, an adhesive sticker or tape, a credit card or squeegee for applying the protector, and an alcohol wipe for cleaning. Having these items at hand will simplify the process and help minimize the chances of dust and debris interfering with the application. Each tool plays a role in ensuring the new screen protector adheres well and provides maximum protection.
Removing the Old Screen Protector
The first step in replacing a damaged screen protector is to carefully remove the old one. Using your fingernail or a plastic tool, gently lift one corner of the protector. Slowly peel it away to avoid cracking or shattering it, especially if it is made of glass. If the protector is particularly stubborn, applying a small amount of heat using a hair dryer can help loosen the adhesive. Once removed, dispose of it responsibly to prevent any potential injuries or environmental harm.
Cleaning the Device’s Screen
After removing the old screen protector, it’s essential to clean your device’s screen thoroughly. Use the alcohol wipe to remove fingerprints, smudges, and any remaining adhesive residue. Follow up with a microfiber cloth to ensure that the screen is dry and free from dust particles. This step is crucial, as any dirt or debris left on the screen can lead to bubbles and a poor adhesive bond with the new protector. Take your time with this step to ensure a crystal-clear display.
Aligning the New Screen Protector
Once the screen is clean and dry, it’s time to align the new screen protector. Carefully remove the protective film from the adhesive side of the new protector without touching it. Position it over your device’s display, making sure to align it with the edges, camera, and speaker cutouts. This can be tricky, so make sure to do it slowly and accurately. If you misalign it, many protectors allow for repositioning within a short window to ensure that you get it just right.
Applying the New Screen Protector
To apply the new screen protector, gently press it down starting from the center and work your way outward. This technique helps prevent air bubbles from forming beneath the protector. Use a credit card or squeegee to smooth out any remaining air bubbles, pushing them toward the edges. If you notice any bubbles that won’t come out, lifting the protector slightly and reapplying it can help remove them. Take your time to ensure a proper application, as this is crucial for protection and visibility.
Securing the Edges of the Protector
After applying the protector, secure the edges to ensure that it adheres well to the screen. Gently press along the borders with your fingers to make sure the adhesive sticks properly. If your protector has adhesive tabs, use them to press down on the edges and ensure a tight seal. Properly securing the edges helps minimize the chances of peeling off over time and enhances the overall durability of the protector. This step is vital for long-term protection and usability.
Final Checks for Bubbles and Clarity
Once everything is applied, take a moment to inspect your work. Look for any remaining bubbles or imperfections. If you spot any, gently push them toward the edges with your credit card. Additionally, check for clarity and responsiveness of the screen, ensuring that the new protector did not affect its functionality. A properly applied screen protector should enhance your viewing experience, so taking the time for a final check is well worth the effort.
Maintenance Tips for Your New Screen Protector
To prolong the life of your new screen protector, follow a few simple maintenance tips. Regularly clean it with a microfiber cloth to keep it free from smudges and dust. Avoid using harsh chemicals, as these can degrade the adhesive over time. Additionally, be mindful of how you handle your device; using a case can provide added protection to both the device and the screen protector. Following these tips will help maintain clarity and effectiveness, ensuring optimal protection for your device.
Conclusion
Replacing a damaged screen protector may seem daunting, but following this step-by-step guide can make the process straightforward and effective. By carefully removing the old protector, cleaning the screen, and properly applying the new one, you can protect your device and ensure its longevity. Adopting good maintenance habits further enhances the protector’s lifespan and aids in keeping your display pristine. Remember, a well-maintained screen protector not only safeguards your device but also improves your overall experience.
