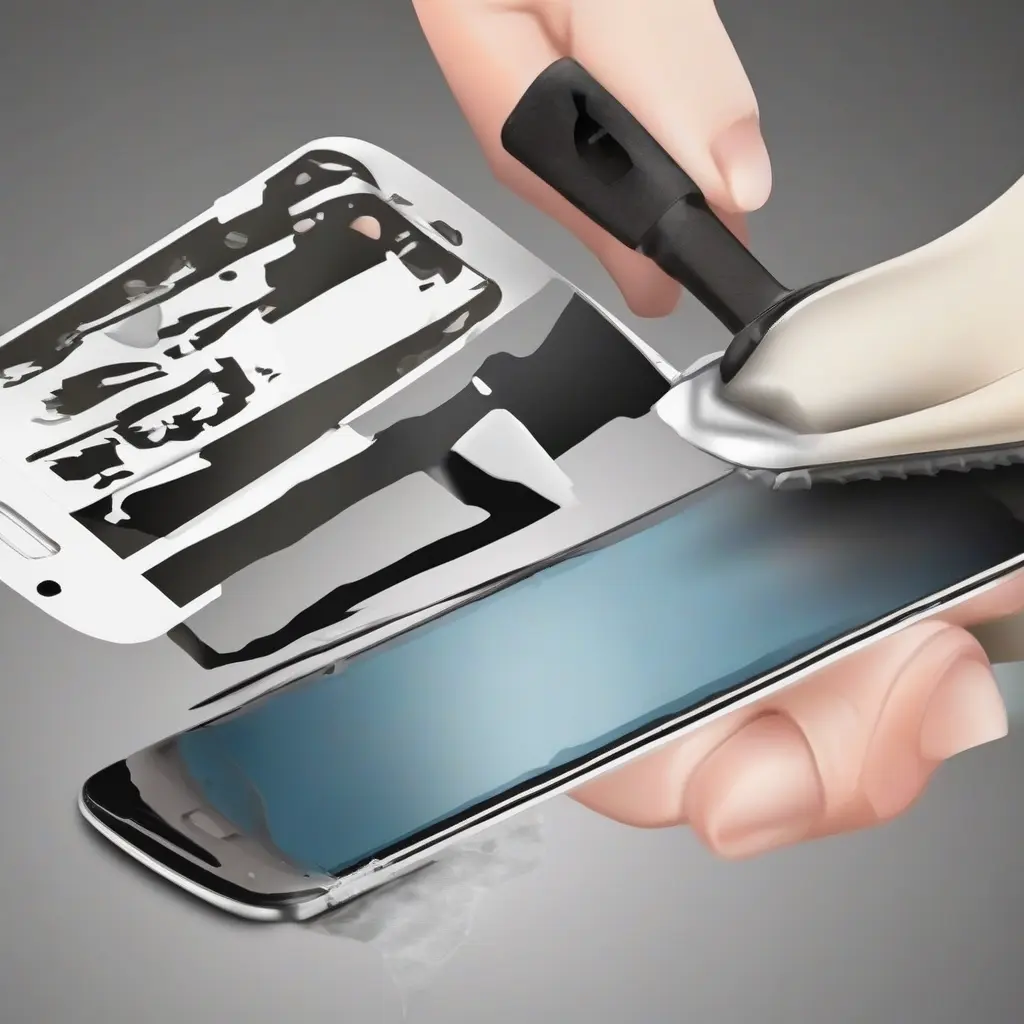
Removing a screen protector can seem daunting, but with the right techniques, it can be a smooth process. Whether you are looking to replace an old protector or have found it damaged, knowing the appropriate methods can help avoid scratches or damage to your device’s screen. This guide offers step-by-step instructions for cleanly removing a screen protector, along with tips to ensure your device remains in perfect condition during the transition.
Gather Your Supplies
Before starting the removal process, it’s crucial to gather the necessary supplies. Typically, you will need a plastic or wooden card, such as a credit card or a tool specifically designed for screen protector removal. Additionally, having microfiber cloths and isopropyl alcohol on hand can help clean any adhesive residue after the protector is removed. A clean, dust-free environment will make the process easier and reduce the chances of debris falling onto your screen.
Choose the Right Environment
Finding an appropriate space to remove your screen protector can significantly affect the overall success of the operation. Ideally, you should work in a dust-free environment, away from strong wind or fan airflow that could introduce particles to the screen. A well-lit room will help you see better during the removal process, allowing you to work more efficiently and minimize any risks of damage to both the device and the new screen protector you may be applying.
Start at the Edges
To begin the removal process, focus on the edges of the screen protector. Use the plastic or wooden card to gently pry up one corner of the protector, being careful not to apply too much pressure on the screen itself. Slowly work the card under the edge, moving gradually along the perimeter. This technique helps prevent cracks and minimizes any adhesive left on the device’s display, making sure you can pull it away cleanly without risking damage.
Work Your Way Around
Once you have lifted a corner, gradually work your way around the screen protector by continuing to slide the card under it. It is essential to maintain a slow and steady pace to avoid damaging the underlying glass. Carefully lift the protector in sections, ensuring that the adhesive comes away with it instead of remaining on the screen. This method not only helps in preventing breakage but also facilitates a cleaner removal overall.
Use Alcohol for Residual Adhesive
If you find that some adhesive residue remains after removing the screen protector, don’t panic. Take a microfiber cloth and lightly dampen it with isopropyl alcohol, ensuring it is not dripping wet. Gently rub the affected area to dissolve the remaining adhesive. The alcohol will break down the residue effectively without scratching your device’s screen, keeping it clean and ready for a new protector or simply returning to normal use.
Inspect the Screen
After you’ve successfully removed the screen protector and cleaned any adhesive residue, take a moment to inspect the screen. Check for any scratches or imperfections that may have been hidden under the protector. If the screen is free of damage, it’s a good sign that the removal process was executed correctly. If you notice any issues, consider consulting a professional for repair options before applying a new protector.
Apply a New Screen Protector
If you’re replacing the old screen protector with a new one, make sure the screen is completely clean and free of dust or fingerprints. Use the microfiber cloth to wipe the surface thoroughly. Follow the instructions that come with the new screen protector, ensuring proper alignment and application techniques to achieve a flawless finish. Applying the new protector immediately after removal often offers the best results, preserving screen clarity and protection.
Tips for Future Removals
For anyone planning future screen protector removals, consider a few handy tips. Always choose high-quality screen protectors that are easy to remove and reapply. Additionally, take your time during the removal process to prevent accidents. Regularly checking and replacing your screen protector can ensure optimal protection for your device and help maintain its resale value. A well-maintained screen contributes not only to function but also to aesthetics.
Conclusion
Removing a screen protector cleanly is a straightforward task if approached with the right techniques and tools. By following the step-by-step instructions outlined in this guide, you can ensure both the safety of your device and an easy transition to a new protector. Regular maintenance and inspections are recommended to keep your screen in excellent condition, ultimately prolonging its lifespan.
