Aligning your screen protector can significantly enhance your device’s protection and usability. A perfectly aligned screen protector ensures maximum clarity, touch responsiveness, and durability. This article offers practical tips and techniques that will guide you through the alignment process, ensuring that your screen protector fits seamlessly on your phone or tablet. From choosing the right environment to utilizing useful tools, here are the essential steps to achieve a flawless finish.
Choose the Right Environment
Selecting an appropriate environment for applying your screen protector is crucial for a smooth application. Aim for a clean, dust-free area with ample natural light. Avoid applying the protector in areas with high humidity or airflow, like near open windows or fans, as this can lead to dust particles settling on the adhesive. A clean table or countertop is ideal, as this minimizes the risk of lint and debris sticking to the screen protector while you’re working.
Gather Your Tools
Before starting the application, gather all necessary tools to streamline the process. Typically, you’ll need a microfiber cloth, a dust removal sticker, and possibly an alignment tool if available. The microfiber cloth is essential for cleaning both your device’s screen and the screen protector itself. The dust removal sticker can help pick up any unwanted particles immediately before applying the protector. Ensuring you have everything at hand will minimize interruptions during alignment.
Clean Your Device’s Screen
Cleaning your device’s screen thoroughly is a crucial step in ensuring a perfect alignment of the screen protector. Use the microfiber cloth to wipe the surface gently, removing fingerprints, smudges, and dust. If necessary, dampen the cloth slightly with water or a suitable screen cleaner, making sure it is not too wet. This step prevents any contaminants from being trapped under the protector, which can cause bubbles and hinder clarity once applied.
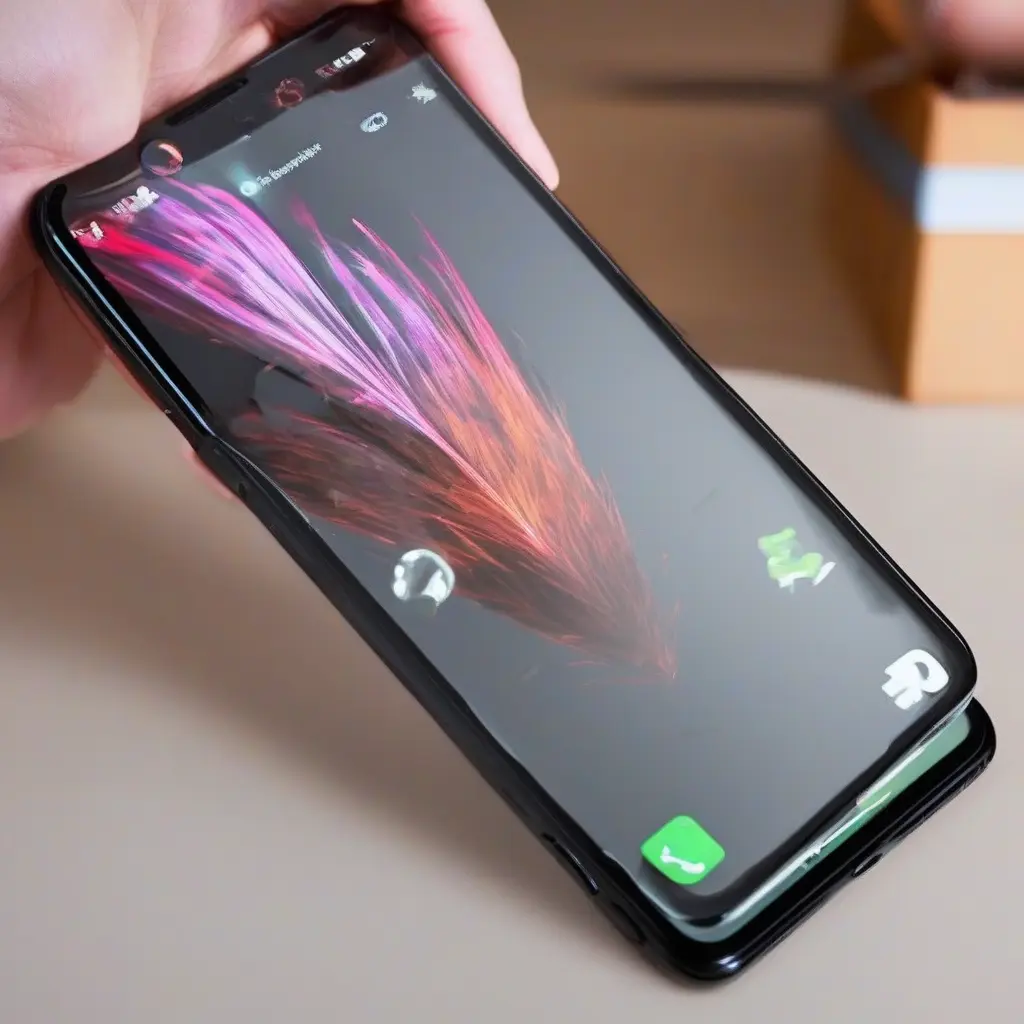
Align the Protector with Precision
Proper alignment of the screen protector is paramount for achieving a flawless finish. Start by holding the screen protector above your device, ensuring that the cutouts align perfectly with the camera and buttons. Gradually lower the protector while watching the edges, making sure it is level and straight. Many protectors feature guide stickers to help with alignment. Utilize these guide stickers for a more straightforward process and to keep the protector steady as you lower it.
Use an Alignment Tool
Utilizing an alignment tool can simplify the application process significantly. These tools are especially helpful for beginners or for those who struggle with manual alignment. Typically designed to hold the screen protector in place above your device, they allow for easier adjustments and a hands-free approach. If your screen protector doesn’t come with a specific alignment tool, consider purchasing one separately or using a smartphone case that allows for easy alignment.
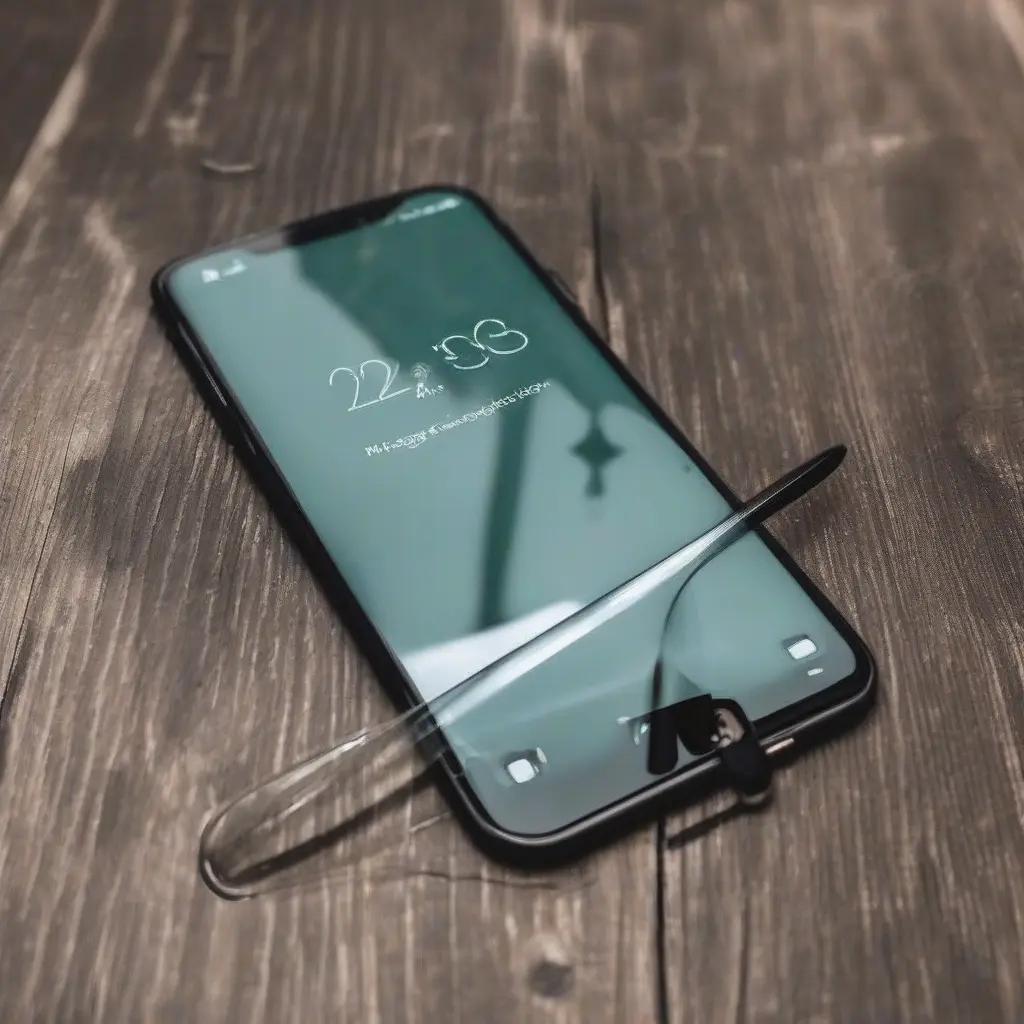
Apply with Care
Once you have aligned the screen protector, it’s time to apply it. Begin at one edge and gently lower the protector to the surface, allowing it to adhere slowly. Avoid dropping the protector directly onto the screen; instead, let it make contact gradually to minimize trapping air bubbles. If you notice any bubbles forming, gently lift the edge of the protector while pushing the bubble toward the nearest edge with a flat tool or your finger.
Remove Air Bubbles
After applying the screen protector, checking for air bubbles is essential for a flawless finish. If you see bubbles, use a plastic card or your fingers to gently push them toward the edges. Work slowly and carefully to avoid damaging the screen protector. In cases where the bubbles are stubborn, you may need to lift the protector gently and reapply it. Proper removal of air bubbles enhances the performance of the screen protector, ensuring unimpeded touch sensitivity.
Final Cleaning and Inspection
Once the screen protector is applied and air bubbles are adequately managed, conduct a final inspection of the installation. Use the microfiber cloth again to clean the surface, eliminating any fingerprints or smudges that may have occurred during application. Check the edges of the protector to ensure they’re secure and properly aligned. This final step not only improves the overall aesthetic but also ensures the longevity and efficiency of your screen protector.
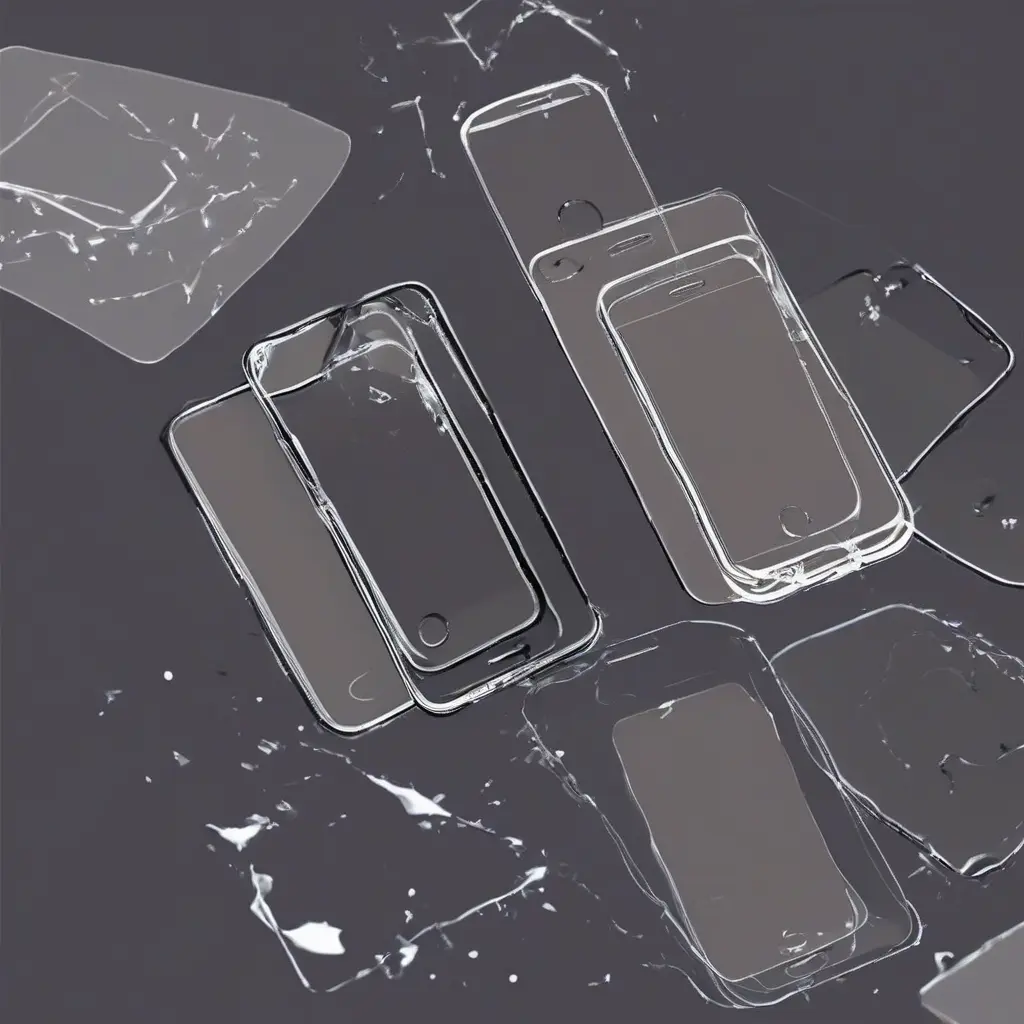
Understanding Screen Protector Types
Different types of screen protectors, such as tempered glass, plastic film, and liquid protectors, can influence the application process. Tempered glass, for example, is thicker and requires a more precise alignment, whereas plastic films can be more forgiving. Understanding the type of screen protector you’re using can provide insight into how meticulously you should align it and what tools may be most beneficial during the application.
When to Replace Your Screen Protector
Over time, screen protectors can become scratched or damaged, requiring replacement to ensure continued protection. Signs that it’s time to replace include visible scratches, chips, or if the protector has become loose at the edges. Regular inspections can help you identify when a replacement is necessary, keeping your device effectively shielded from damage. Additionally, frequent replacement can maintain optimal touch sensitivity and clarity for the best user experience.
Conclusion
Perfectly aligning your screen protector enhances both the look and functionality of your device. By following these tips, you can achieve a flawless installation that not only protects your screen but also enhances its usability. A little patience and attention to detail during the application process can yield substantial benefits, prolonging the life of your device and its screen.