Removing a tempered glass screen protector from your smartphone can seem daunting, especially if you worry about damaging the display. However, the process can be straightforward if done correctly. This guide will provide step-by-step instructions on how to remove a tempered glass screen protector safely, ensuring that your phone remains intact and undamaged. Whether your screen protector has cracked, is peeling, or you simply want to replace it, following proper techniques can save you time and avoid potential pitfalls.
Understanding Tempered Glass Screen Protectors
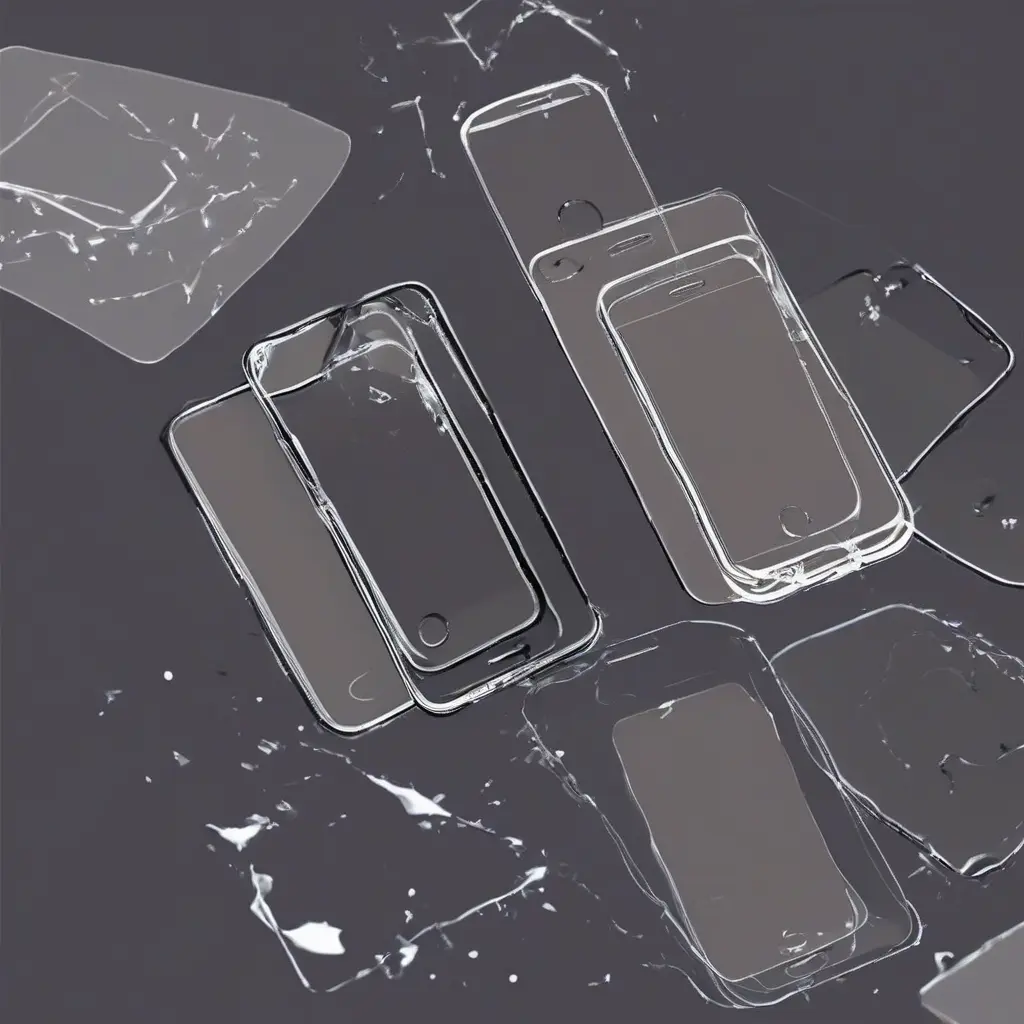
Tempered glass screen protectors are designed to offer enhanced protection against scratches and impacts. Made from chemically treated glass, these protectors can absorb shocks and prevent damage to the underlying screen. They often come with adhesive backing that firmly attaches to the phone’s display. Understanding how these protectors function is crucial when considering removal methods. The adherence can make the removal process more challenging, requiring careful techniques to avoid damage.
Gather Necessary Tools for Removal
Before starting the removal process, it’s important to gather the right tools. Commonly needed items include a plastic card, a microfiber cloth, and some tape. The plastic card can help to gently pry up the edges of the tempered glass, while the microfiber cloth will help protect the screen during the process. Additionally, some people prefer to use adhesive tape to lift one corner of the screen protector. Having these tools on hand will facilitate a smoother and safer removal.
Choosing a Safe Environment
Selecting the right environment for removing a tempered glass screen protector is essential for avoiding further damage. A clean, well-lit space will allow you to see what you are doing clearly and mitigate the risk of dirt or debris getting trapped between the screen and the protector. It’s also advisable to work on a flat, stable surface to prevent accidental slips or drops. Taking these precautions can help ensure a successful removal process.
Turning Off Your Device
Before you begin the removal process, it is wise to turn off your phone. Powering off the device minimizes the risk of accidental inputs or damage to the internal components during removal. It also prevents the screen from reacting to touch, which can lead to frustration and mistakes. Once your phone is safely powered down, you can focus exclusively on the task at hand without distractions.
Starting at the Edges
The safest way to remove a tempered glass screen protector is to start at the edges. Use the plastic card to gently slide under one corner or edge of the protector. Be careful not to apply excessive force, as this could result in cracks or chips. By working slowly and steadily, you can gradually lift the protector away from the device. This method minimizes the risk of damaging the underlying screen and makes it easier to control the removal process.
Using Adhesive Tape for a Tight Grip
An effective technique to help with removal involves using adhesive tape. Start by cutting a small piece of tape and attaching it to one corner of the tempered glass screen protector. This gives you a better grip, making it easier to lift the protector. The tape acts as a safeguard, allowing you to pull gently without risking damage to your device. This method is especially useful for securing a tight hold on stubborn protectors that might not easily lift at first.
Applying Heat to Loosen Adhesive
If the screen protector proves difficult to remove, applying a small amount of heat can help in loosening the adhesive. A hairdryer on a low setting can be effective; however, be cautious to avoid overheating the device. Keep the dryer several inches away and move it back and forth to prevent concentrated heat in one area. The goal is to warm the adhesive so that it becomes less tacky, making it easier to peel away the protector without risking damage to the screen.
Finishing the Removal Process
Once you have lifted the protector, do so slowly to avoid any sudden snapping that might damage the phone. If pieces of the protector break off, gently remove them with the plastic card or your fingers. After the entire protector is removed, check the phone screen for any leftover adhesive residue. If you notice any, you can use a small amount of rubbing alcohol on the microfiber cloth to wipe it away gently without scratching your screen.
Inspecting Your Phone for Damage
After successfully removing the tempered glass screen protector, it’s essential to carefully inspect your phone for any signs of damage. Look for scratches, cracks, or any other issues that may have been hidden under the protector. This step is crucial because it gives you clarity on whether your device is still in good condition. If you notice any problems, you can take appropriate action, such as seeking professional repair services.
Reapplying a New Screen Protector
If you plan to apply a new screen protector immediately after removing the old one, ensure that the phone’s screen is clean and free from dust or oils. Use a microfiber cloth to wipe down the surface thoroughly. You might also consider using screen cleaning solutions for a better finish. Proper preparation ensures that your new protector adheres effectively, providing the same level of protection as the previous one. Taking these steps can enhance the longevity and effectiveness of the new screen protector.
When to Seek Professional Help
In some cases, you may find that removing the tempered glass screen protector is beyond your comfort level. If you encounter any resistance or feel unsure during the process, it’s wise to seek professional help. Many phone repair shops offer services specifically for screen protector removal. This option guarantees that your device is handled safely, reducing the risk of damage if you are inexperienced or feel uncertain about your own skills.
Conclusion
Removing a tempered glass screen protector need not be a daunting task if undertaken with the right techniques and tools. By understanding the properties of the screen protector and following the step-by-step process outlined above, you can complete the removal safely. Ensuring that your device remains undamaged is crucial, and these tips will provide you with the confidence to approach the task effectively.