Installing a screen protector can be a challenging task, especially if you want to avoid dust and air bubbles. With the right approach and tools, you can ensure a smooth application that enhances your device’s longevity and usability. This guide will walk you through the necessary steps and best practices for installing a screen protector efficiently, giving tips and tricks that can save you time and effort while maintaining a professional finish.
Choosing the Right Screen Protector
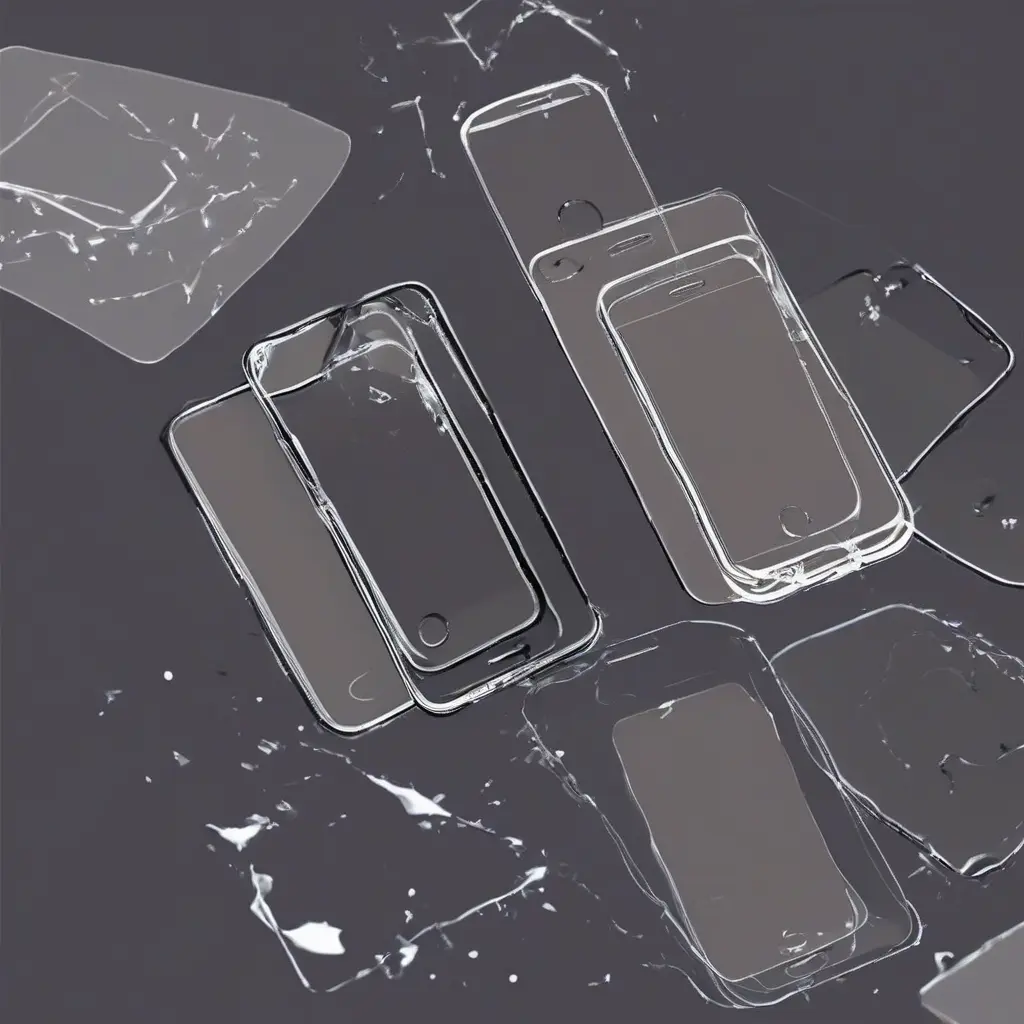
Selecting the appropriate screen protector is crucial to a successful installation. There are various types available, such as tempered glass, plastic film, and privacy filters, each with unique benefits. Tempered glass is durable and offers better protection against impacts, while plastic film is thinner and often less costly. Understanding the characteristics of each type helps you make an informed choice that suits your lifestyle and device needs.
Gather Your Tools
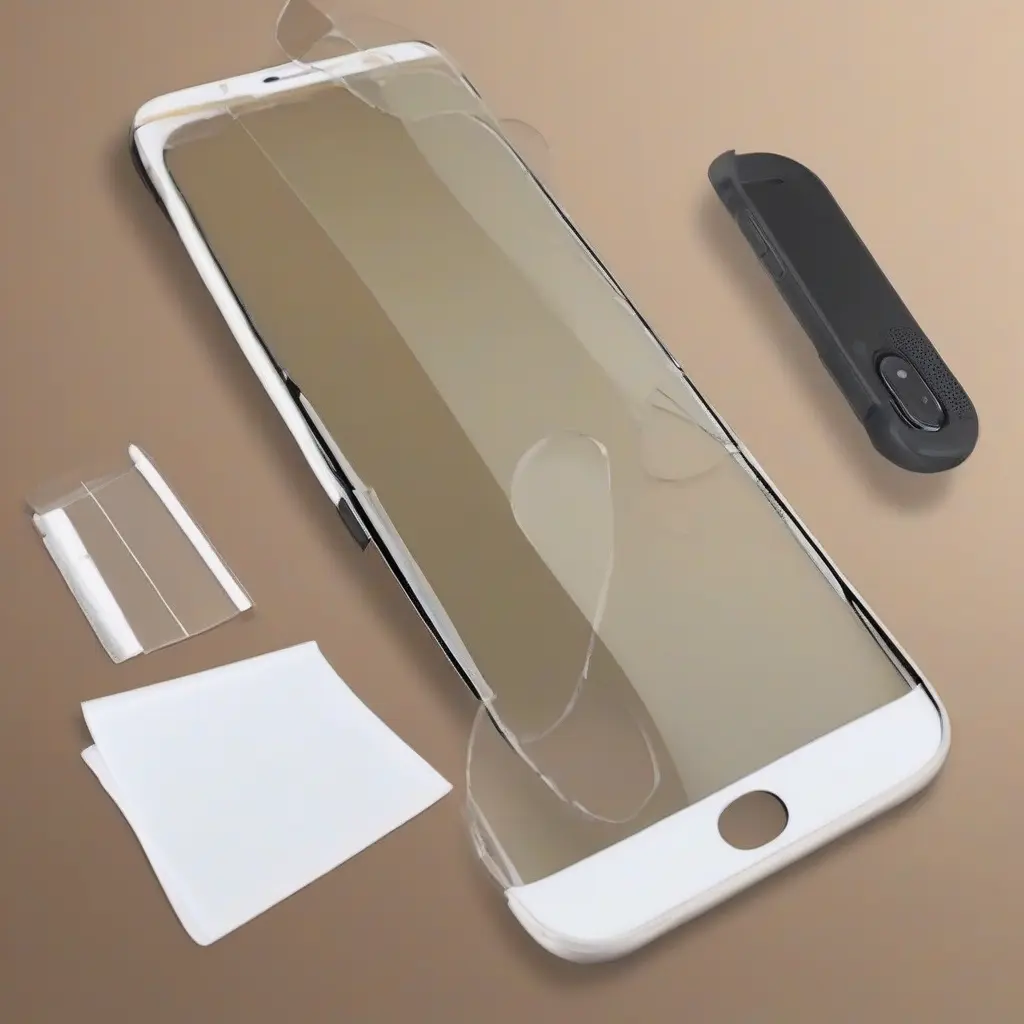
Before starting the installation, gather all necessary tools to ensure a smooth process. Common tools include a microfiber cloth, dust removal stickers, a credit card, and a spray solution. The microfiber cloth is essential for cleaning the screen, while dust removal stickers help eliminate any debris. A credit card can assist in smoothing out the screen protector during application, preventing air bubbles from forming.
Clean Your Device’s Screen
An effective installation starts with a clean screen. Use the microfiber cloth to wipe away any fingerprints, smudges, or oils lingering on the surface. It’s beneficial to slightly dampen the cloth with a small amount of water or a screen-safe cleaning solution. Ensure that every corner of the screen is free of dirt, as even a tiny speck can cause bubbles and hinder adhesion.
Work in a Dust-Free Environment
To minimize dust contamination during installation, choose a clean, dust-free environment. Areas such as a bathroom may be beneficial because the steam from the shower helps settle airborne dust. Also, avoid windy areas and keep pets away. Using a lint-free cloth to wipe down surfaces before starting can further ensure that your installation stays dust-free.
Properly Position the Screen Protector
Once your screen is clean, it’s time to position the screen protector correctly. Align it with the device’s edges and make sure to leave adequate space for any cutouts for cameras or sensors. This step is crucial, as misalignment can lead to peeling and ineffective coverage. Taking a moment to ensure perfect alignment can prevent complications later in the installation.
Apply the Screen Protector
After positioning the screen protector, gently lower it onto the screen without applying too much pressure. Once it touches the screen, use your fingers to start applying pressure from the center outwards. This technique helps push out any air bubbles toward the edges. Be patient during this step, as rushing could trap air or dust beneath the protector.
Remove Air Bubbles
If air bubbles appear after applying the screen protector, don’t panic. Use a credit card or similar object to gently push the bubbles toward the edges. Start from the center and work your way outwards. For stubborn bubbles, lifting the corner of the protector slightly can also help. Always be gentle to avoid damaging the screen or protector.
Final Touches
After all bubbles are removed and the screen protector is securely attached, take a moment to inspect your work. Use a microfiber cloth again to wipe off any fingerprints or smudges that may have appeared during the installation process. Make sure the edges are adhering well; if not, gently press them down to secure the fit.
Waiting Period
Following installation, allow some time for the adhesive to cure properly. Avoid using your device for a few hours, which will help the screen protector bond effectively with your screen. This waiting period is essential for maximizing adhesion and ensuring that the protector remains in place long-term, providing optimal protection.
Understanding Maintenance
After successfully installing the screen protector, maintaining its condition is vital for long-term performance. Regularly clean the screen with a microfiber cloth to prevent accumulation of dirt and oils. Also, avoid using abrasive materials that can scratch the protector. Proper maintenance helps in extending the lifespan of the screen protector and your device’s display.
Conclusion
Installing a screen protector without dust or air bubbles is a straightforward process when following the right steps. By selecting a quality protector, maintaining a clean workspace, and taking your time during application, you can effectively enhance your device’s durability and display quality. Adhering to these guidelines ensures a flawless finish that keeps your device looking new.